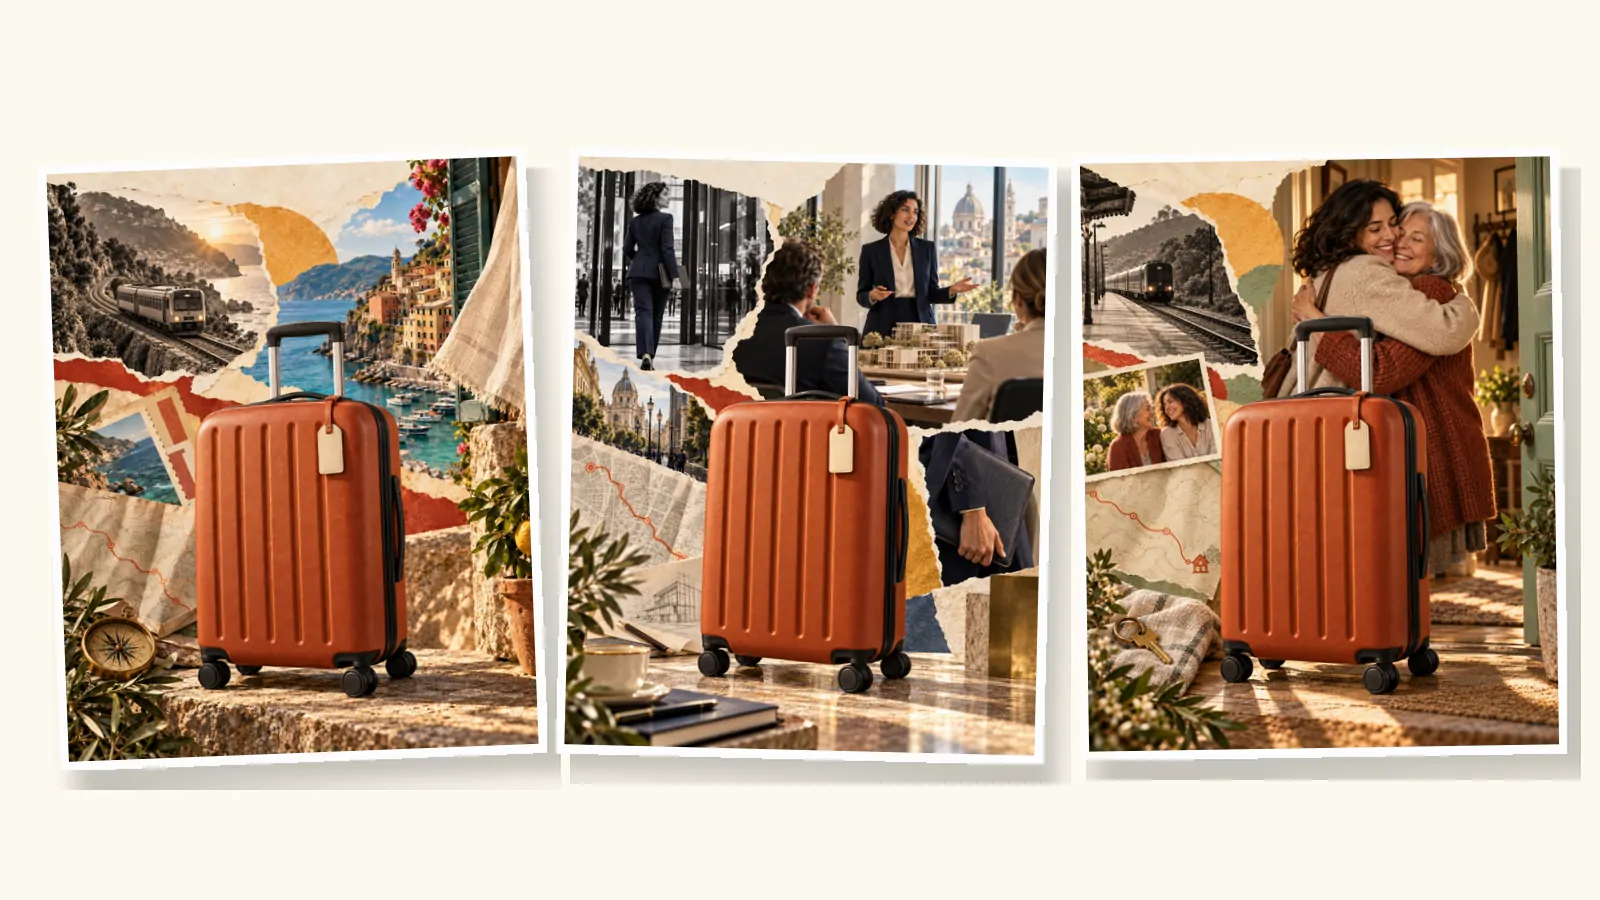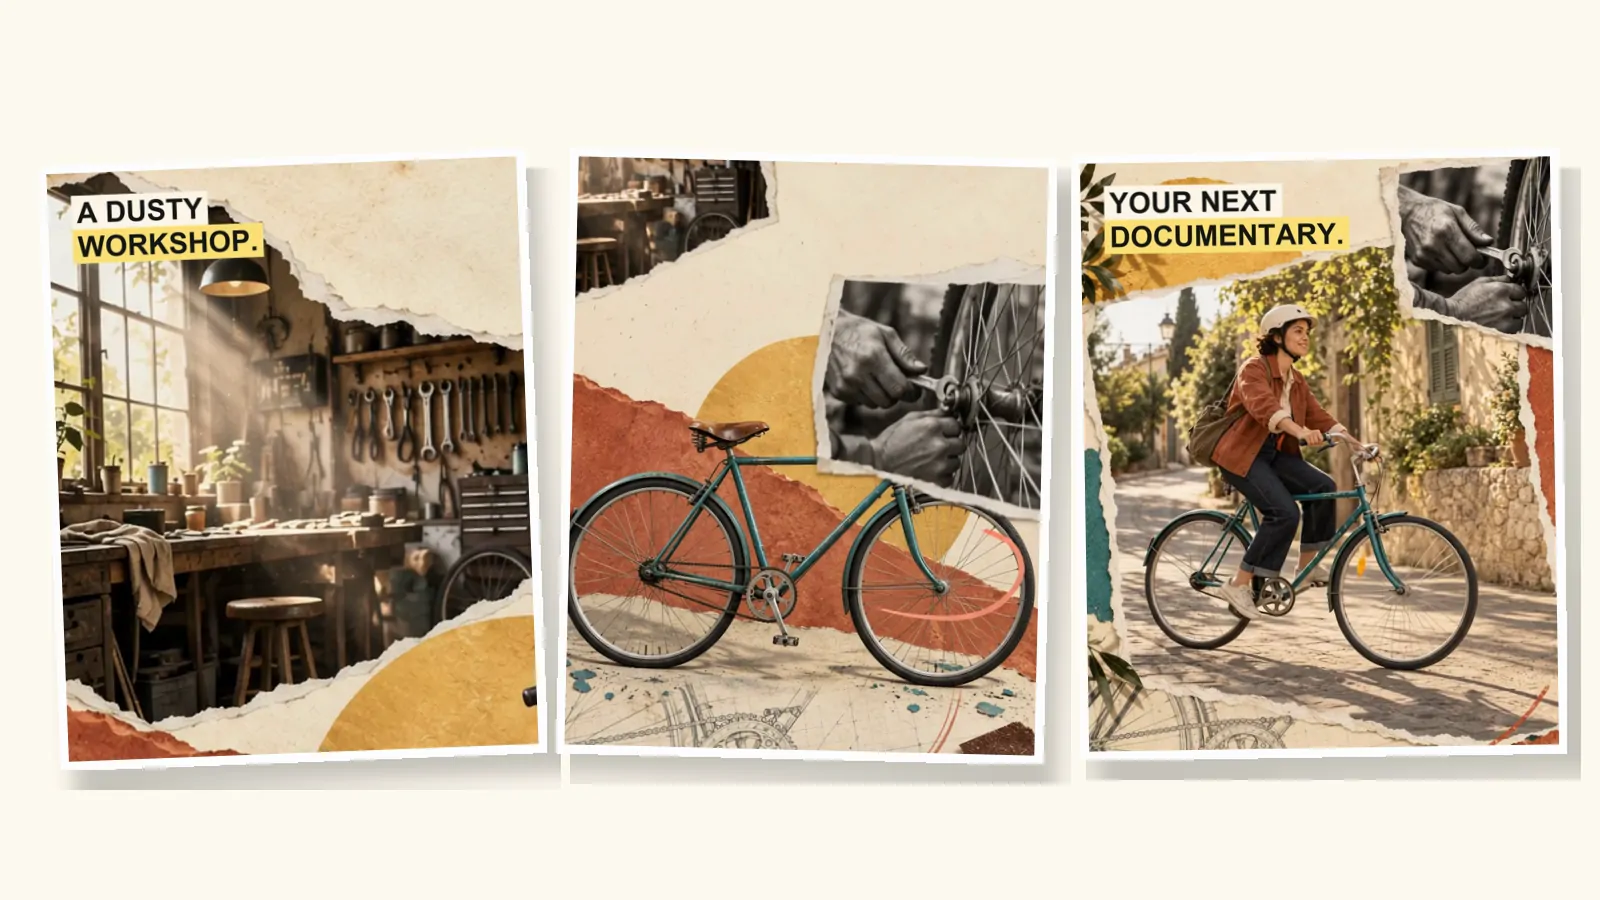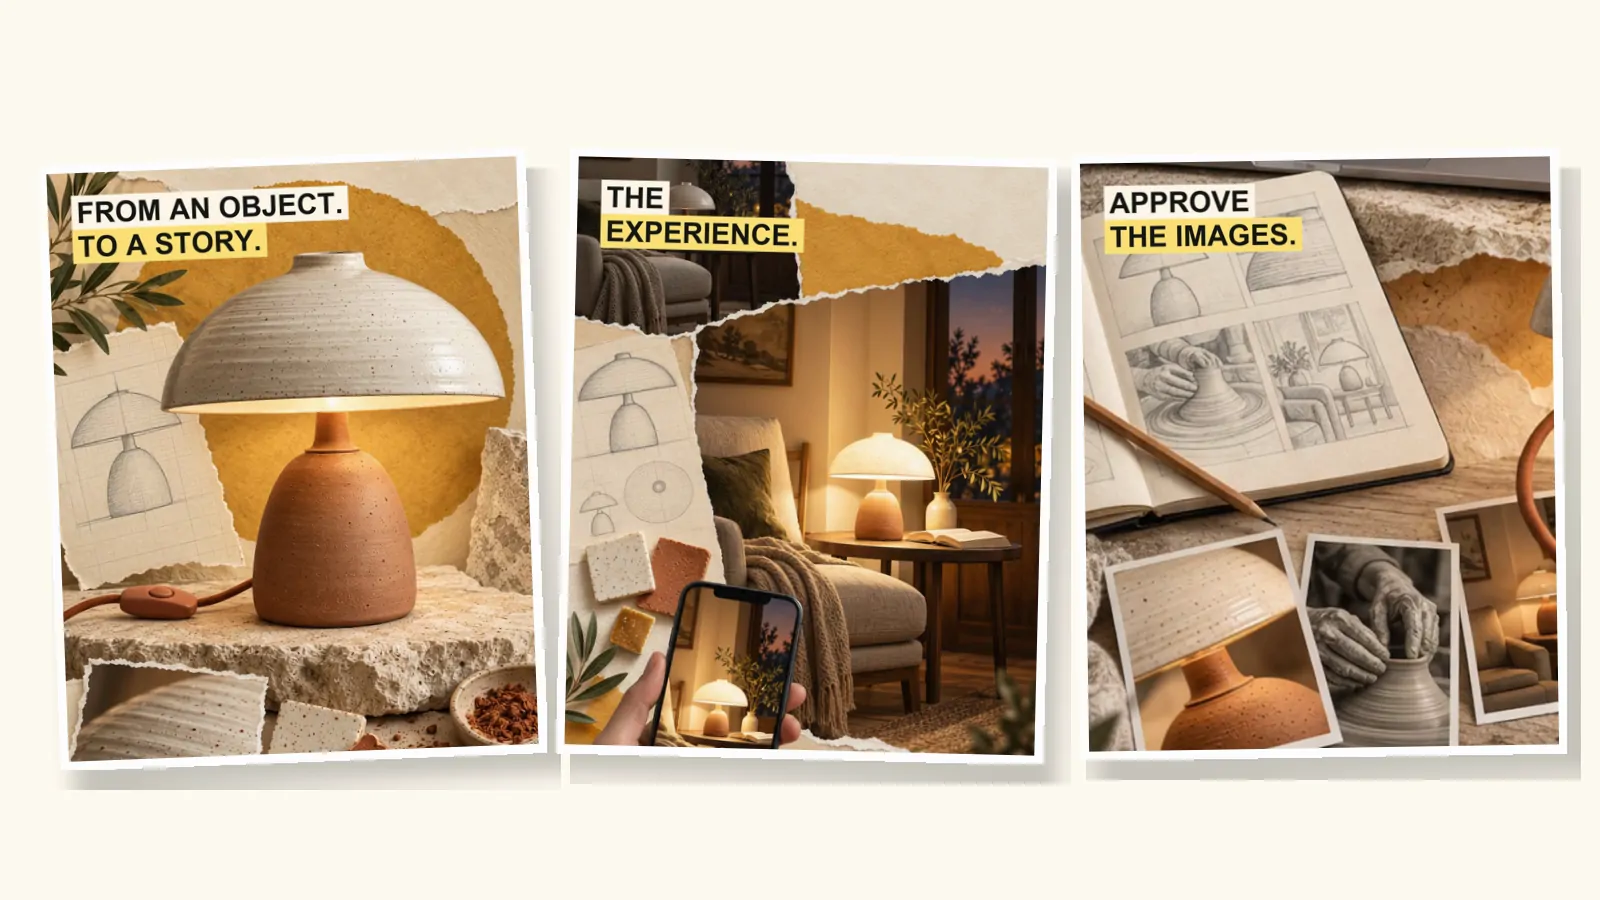
Vox-style videos
Vox-style animation tutorial: animate one collage scene in After Effects, CapCut or with AI
A Vox-style animation tutorial for one collage scene: layers, parallax, 12 fps stepped motion and labels in After Effects or CapCut, plus the AI route.
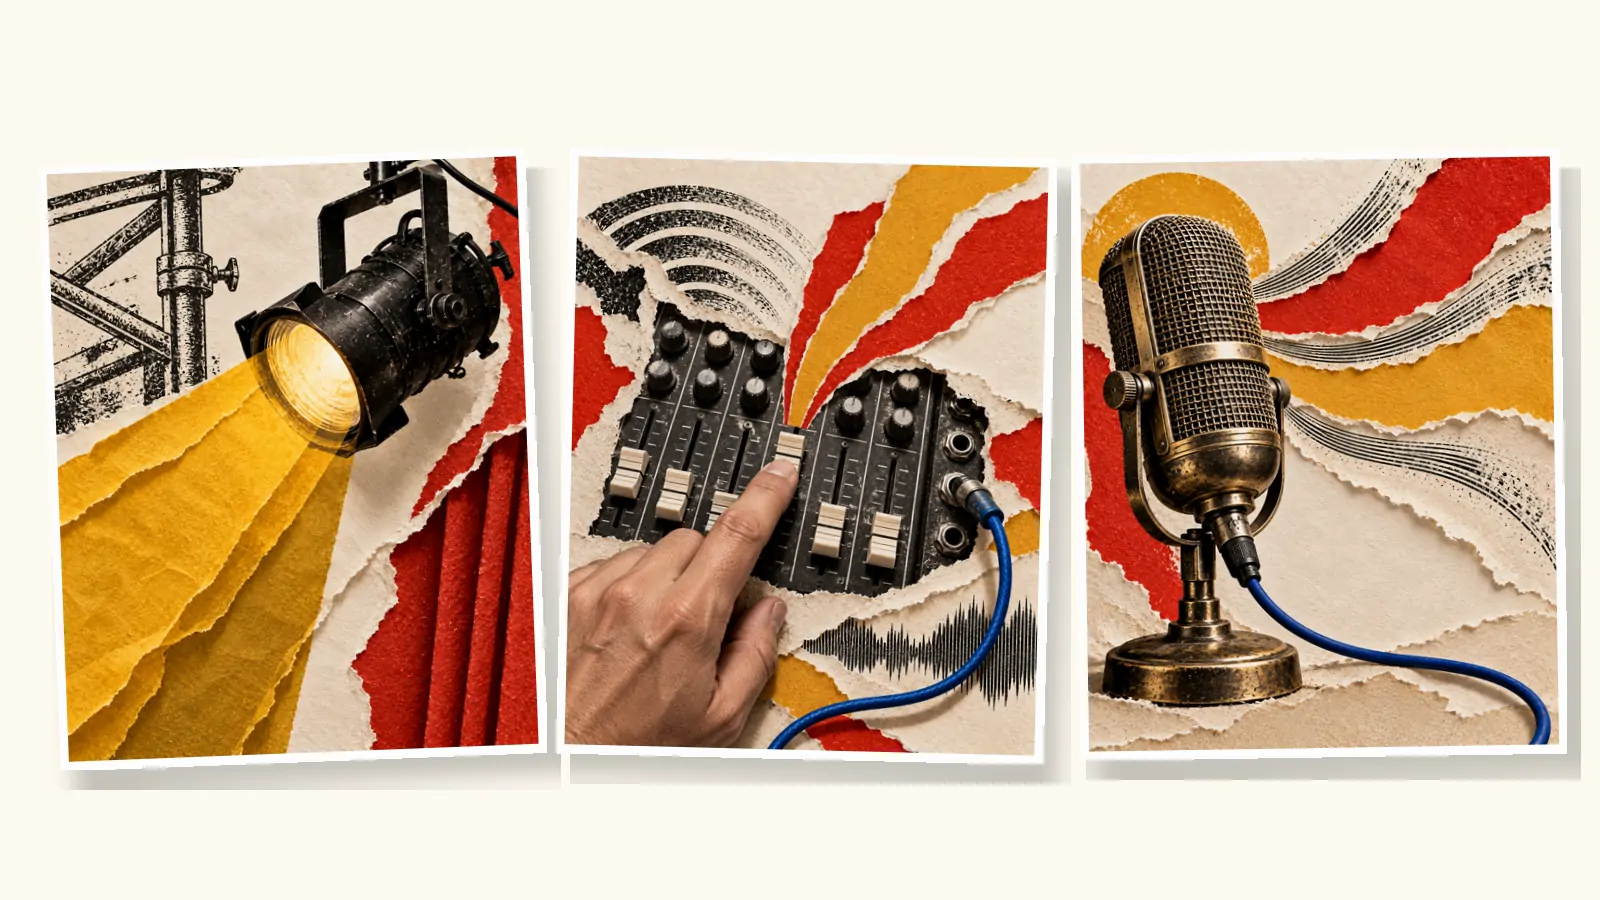
This Vox-style animation tutorial takes one collage scene from a still image to a finished four-second shot. You will build it three ways: by hand in After Effects, more quickly in CapCut, and with an AI image-to-video model. Each route ends in the same place: layered paper that moves a little, a slow push-in, slightly stepped motion and a short highlighted label.
A note on where this comes from. Our own nine ads were animated with AI models and assembled in code, and the AI section below is drawn from our production notes. The After Effects steps are the classic manual method; Vox's own art director describes After Effects as the tool behind its sketches and experiments (Storybench). If you are new to the look itself, start with what Vox-style animation is called.
The scene we are animating
One shot, three to six seconds long, carrying one line of narration. It has five layers:
| Layer | What it is | How it moves |
|---|---|---|
| Background | Cream paper or card, a torn coloured shape | Barely, or not at all |
| Main cutout | The photograph the line is about | Slides in, then drifts slowly |
| Detail inset | A smaller photo or engraving | Arrives a beat later, small parallax |
| Texture | Paper grain over everything | Optional flicker, two or three times a second |
| Label | Two to six words on a highlight | Appears on the cut, or with a quick swipe |
Keep the main subject inside the central 80% of the frame and leave a quiet area, usually near the top, for the label. Platform buttons and captions cover the bottom and right edges of vertical video.
Step 1: Get the scene into layers
If you build the collage yourself in Photoshop or Illustrator, keep each element on its own layer and you can skip this step.
If you start from a single flat image, as you will with most AI-generated collages, split it:
- Duplicate the image. On the copy, use Select > Subject (or the lasso) to isolate the main cutout, and put it on its own layer.
- On the background layer, fill the hole the cutout left with Edit > Content-Aware Fill or Generative Fill. It only needs to look right around the edges, where parallax will reveal it.
- Repeat for the inset if it should move separately.
- Save as PSD, one element per layer, with clear names.
Splitting is worth doing for your most important shots only. For the rest, a slow push-in on the flat image is honest and often enough.
Step 2: Animate it in After Effects
Set up the composition
Create a composition at your delivery size: 1080 × 1350 for 4:5 feeds, 1080 × 1920 for 9:16, or 1920 × 1080 for YouTube. Use 24 frames per second. Import the PSD as Composition – Retain Layer Sizes, so each layer keeps its position.
Lift the paper
Give the cutouts a soft shadow with Effect > Perspective > Drop Shadow: low opacity, a short distance and a wide softness. A real cutout sits a few millimetres above the page, not a few centimetres. If your cutout edges are too clean, Effect > Stylize > Roughen Edges breaks them up; scanned torn paper used as a track matte looks better still.
Build depth with a camera
Turn on 3D for every layer and spread them along the Z axis: background furthest away, main cutout in the middle, inset and label closest. Add a camera with Layer > New > Camera and animate its position for a slow push-in across the whole shot, five to ten percent closer by the end. Select the keyframes and apply Easy Ease (F9) so the move starts and stops gently. Because the layers sit at different depths, they slide past each other: that is the parallax.
Bring the cutouts in
Animate the main cutout sliding into place over the first 8 to 12 frames, then let it rest. Bring the inset in a few frames later, so the eye has an order: subject first, detail second. For a little paper life, add a small wiggle to a layer's position or rotation, for example wiggle(2, 3): two wobbles a second, three pixels at most. Keep it small, or the scene looks seasick.
Make the motion step
The handmade feel comes from motion that moves in small jumps rather than gliding. Two ways to get it:
- Put the animated layers in a pre-composition set to 12 frames per second inside your 24 fps edit. PremiumBeat's breakdown of the look uses this approach (PremiumBeat).
- Or apply Effect > Time > Posterize Time to a layer and set it to 12 fps.
Leave the camera move smooth, or step it too if you want a stop-motion feel. Try both and judge at full speed.
Add the label
Type the label in a heavy sans-serif, uppercase, two to six words. Draw a solid rectangle behind it on its own shape layer. For a highlighter swipe, move the rectangle's anchor point to its left edge and animate its horizontal scale from 0 to 100% over six to eight frames, then reveal the text. Or skip the swipe: in our own ads, labels simply appear on the cut and hold for the whole shot, which reads cleanly on a phone.
Check and export
Watch the shot at full speed with the sound off. Can you read the label before it disappears? Does anything move that a real piece of paper wouldn't? Export with H.264 through Media Encoder.
Timings to start from
These are starting points at 24 frames per second, not rules. Adjust them to the narration.
| Move | Length | Tip |
|---|---|---|
| Push-in across a shot | The whole shot, 5–10% closer | Easy Ease at both ends |
| Cutout slides in | 8–12 frames | Ease out, so it lands softly |
| Inset arrives | 4–8 frames after the cutout | Gives the eye an order |
| Highlight swipe | 6–8 frames | Then hold still |
| Label on screen | At least 1.5 seconds | Longer if it has more than four words |
| Paper tear or slide transition | 12–24 frames | Match it to a pause in the narration |
| Stepped motion | 12 fps inside 24 fps | Each position holds for two frames |
Step 3: The quick version in CapCut
CapCut won't give you a real 3D camera, but you can get close to the look with layers.
- Put the background on the main track and each cutout on its own overlay track above it.
- Use keyframes on scale and position: a slow scale-up on the background, a slightly faster one on the cutout. The difference in speed reads as depth.
- Add a paper texture as a top layer with a multiply blend mode at low opacity.
- Add the label as text with a solid background, and keep it inside the safe area.
- Export at 24 or 30 frames per second.
It is a good route for intros, shorts and quick social posts. For long explainers with many reveals, After Effects or an AI tool will save you time.
Step 4: The AI route, image to video
Image-to-video models animate the whole collage at once. You don't split layers or set keyframes; you describe the motion in words. We use two kinds of clip.
- Hold clips: the same image is the first and the last frame, and something moves inside it, such as hands, dust, light or a slow camera approach.
- Transition clips: the first frame is one scene and the last frame is the next. Paper slides and shapes carry the eye from one image to the other.
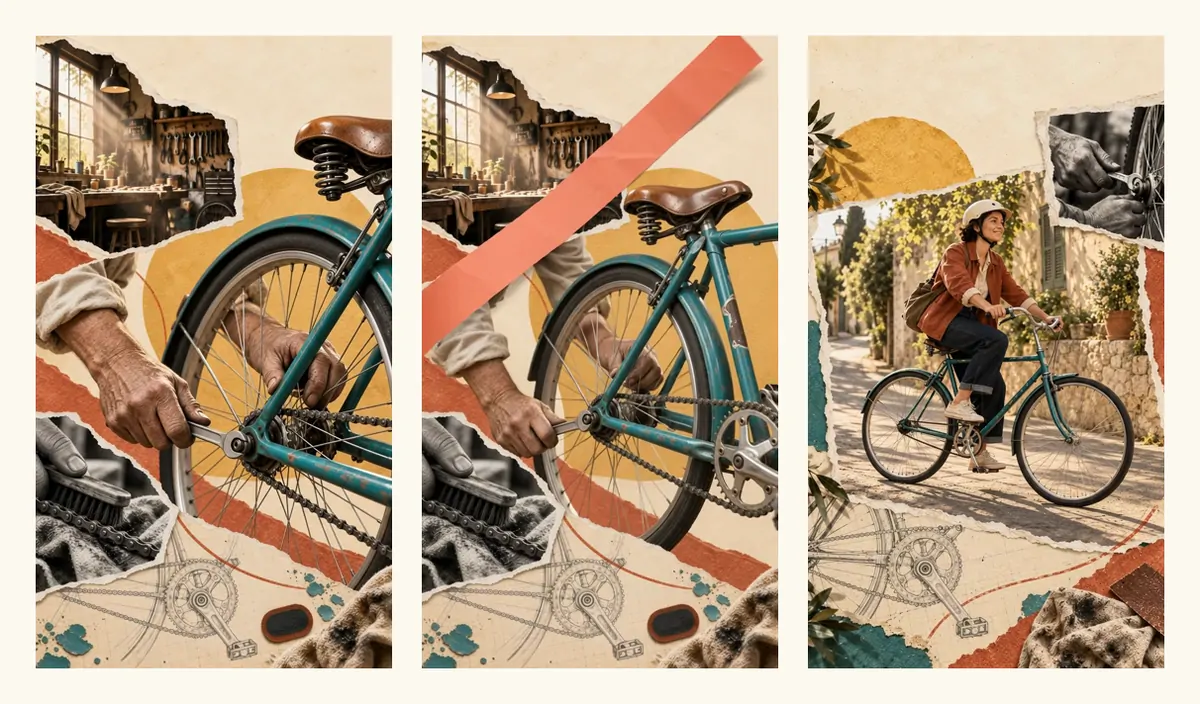
That transition was prompted to connect the scenes "through circular wheel geometry and moving paper, not a person growing from a hand". Tell the model what links the two images, or it will invent a morph.
Four attempts at one shot
The hardest shot in our bicycle ad was six seconds of a woman riding the bike she had just repaired. It took four generations. Here they are side by side.
- Pedal. We asked for a smooth ride with the feet on the pedals. The bike held its shape, but the feet slipped and clipped through the pedals for two seconds.
- Exact crank. We described the pedalling precisely: one slow revolution in four seconds, then coasting. The crank and the feet still distorted during the stroke. More precise instructions didn't buy more precise mechanics.
- Coast. We locked everything: cranks, pedals, shoes, knees, leg pose. The result was so steady that it was effectively a still image. When we measured the frames, almost no pixels changed between samples.
- Travel. We stopped describing what must not move and described the journey instead: widen the view, and have the rider travel "clearly from left toward right and deeper along the lane, covering at least one bicycle length". Wheels rolled, legs moved, the scenery shifted. Fine pedal contact still isn't perfect, but it reads as a ride at normal speed. That is the version in the final ad.
The lesson we took from it: describe what changes and how far, and keep the list of things that must stay still short. Each extra constraint gives the model another reason to do nothing.
Review like a person, not a checklist
Watch every clip at full speed first, then step through frames sampled every half second. Look at hands, faces, wheels, edges and anything mechanical. An automated video check we tried reported attempt 4 as a frozen image; another review had praised attempt 3 for its stability and missed that nothing moved. A person caught both in seconds.
Finally, add the labels in your editor, not in the prompt, and remove any audio the model generated. The AI workflow guide covers the prompts for every other stage.
Mistakes to avoid
- Animating everything. One or two moving elements per shot is enough. The narration is the main event.
- Smooth, perfect motion. It reads as a template. Step it, or let paper settle with a tiny bounce.
- Morphing between scenes. Slide, peel or cut instead. Paper doesn't melt.
- Labels that vanish too fast. If you can't read it twice at full speed, hold it longer.
- Testing all scenes at once. Animate one shot, judge it, then do the rest. The motion graphics guide lists the other moves worth knowing.
FAQ
What frame rate should Vox-style animation use?
Edit at 24 frames per second and animate some elements at 12, using a 12 fps pre-composition or the Posterize Time effect. The difference gives the slightly stepped, handmade movement.
Can I follow this Vox-style animation tutorial without After Effects?
Yes. CapCut can fake depth with layered keyframes, and an image-to-video model can animate a flat collage directly. After Effects gives the most control over each layer.
Do I need to split an AI image into layers?
Only for shots where you want real parallax. A slow push-in on a flat image works for most scenes, and image-to-video models animate the flat image as it is.
How long does one shot take?
By hand, an experienced After Effects user can often animate a simple five-layer scene in an hour or two, and longer with reveals. With AI, generation takes minutes, but plan for review and one or two retries on difficult shots.
Where can I see the result in a full video?
Our Vox-style videos guide has a complete example film and the step-by-step process behind it.
The scenes and clips in this article come from illustrative ads we produced by hand while building vox.style; the products, people and brands are fictional. vox.style is an independent product, not affiliated with Vox or its owners.